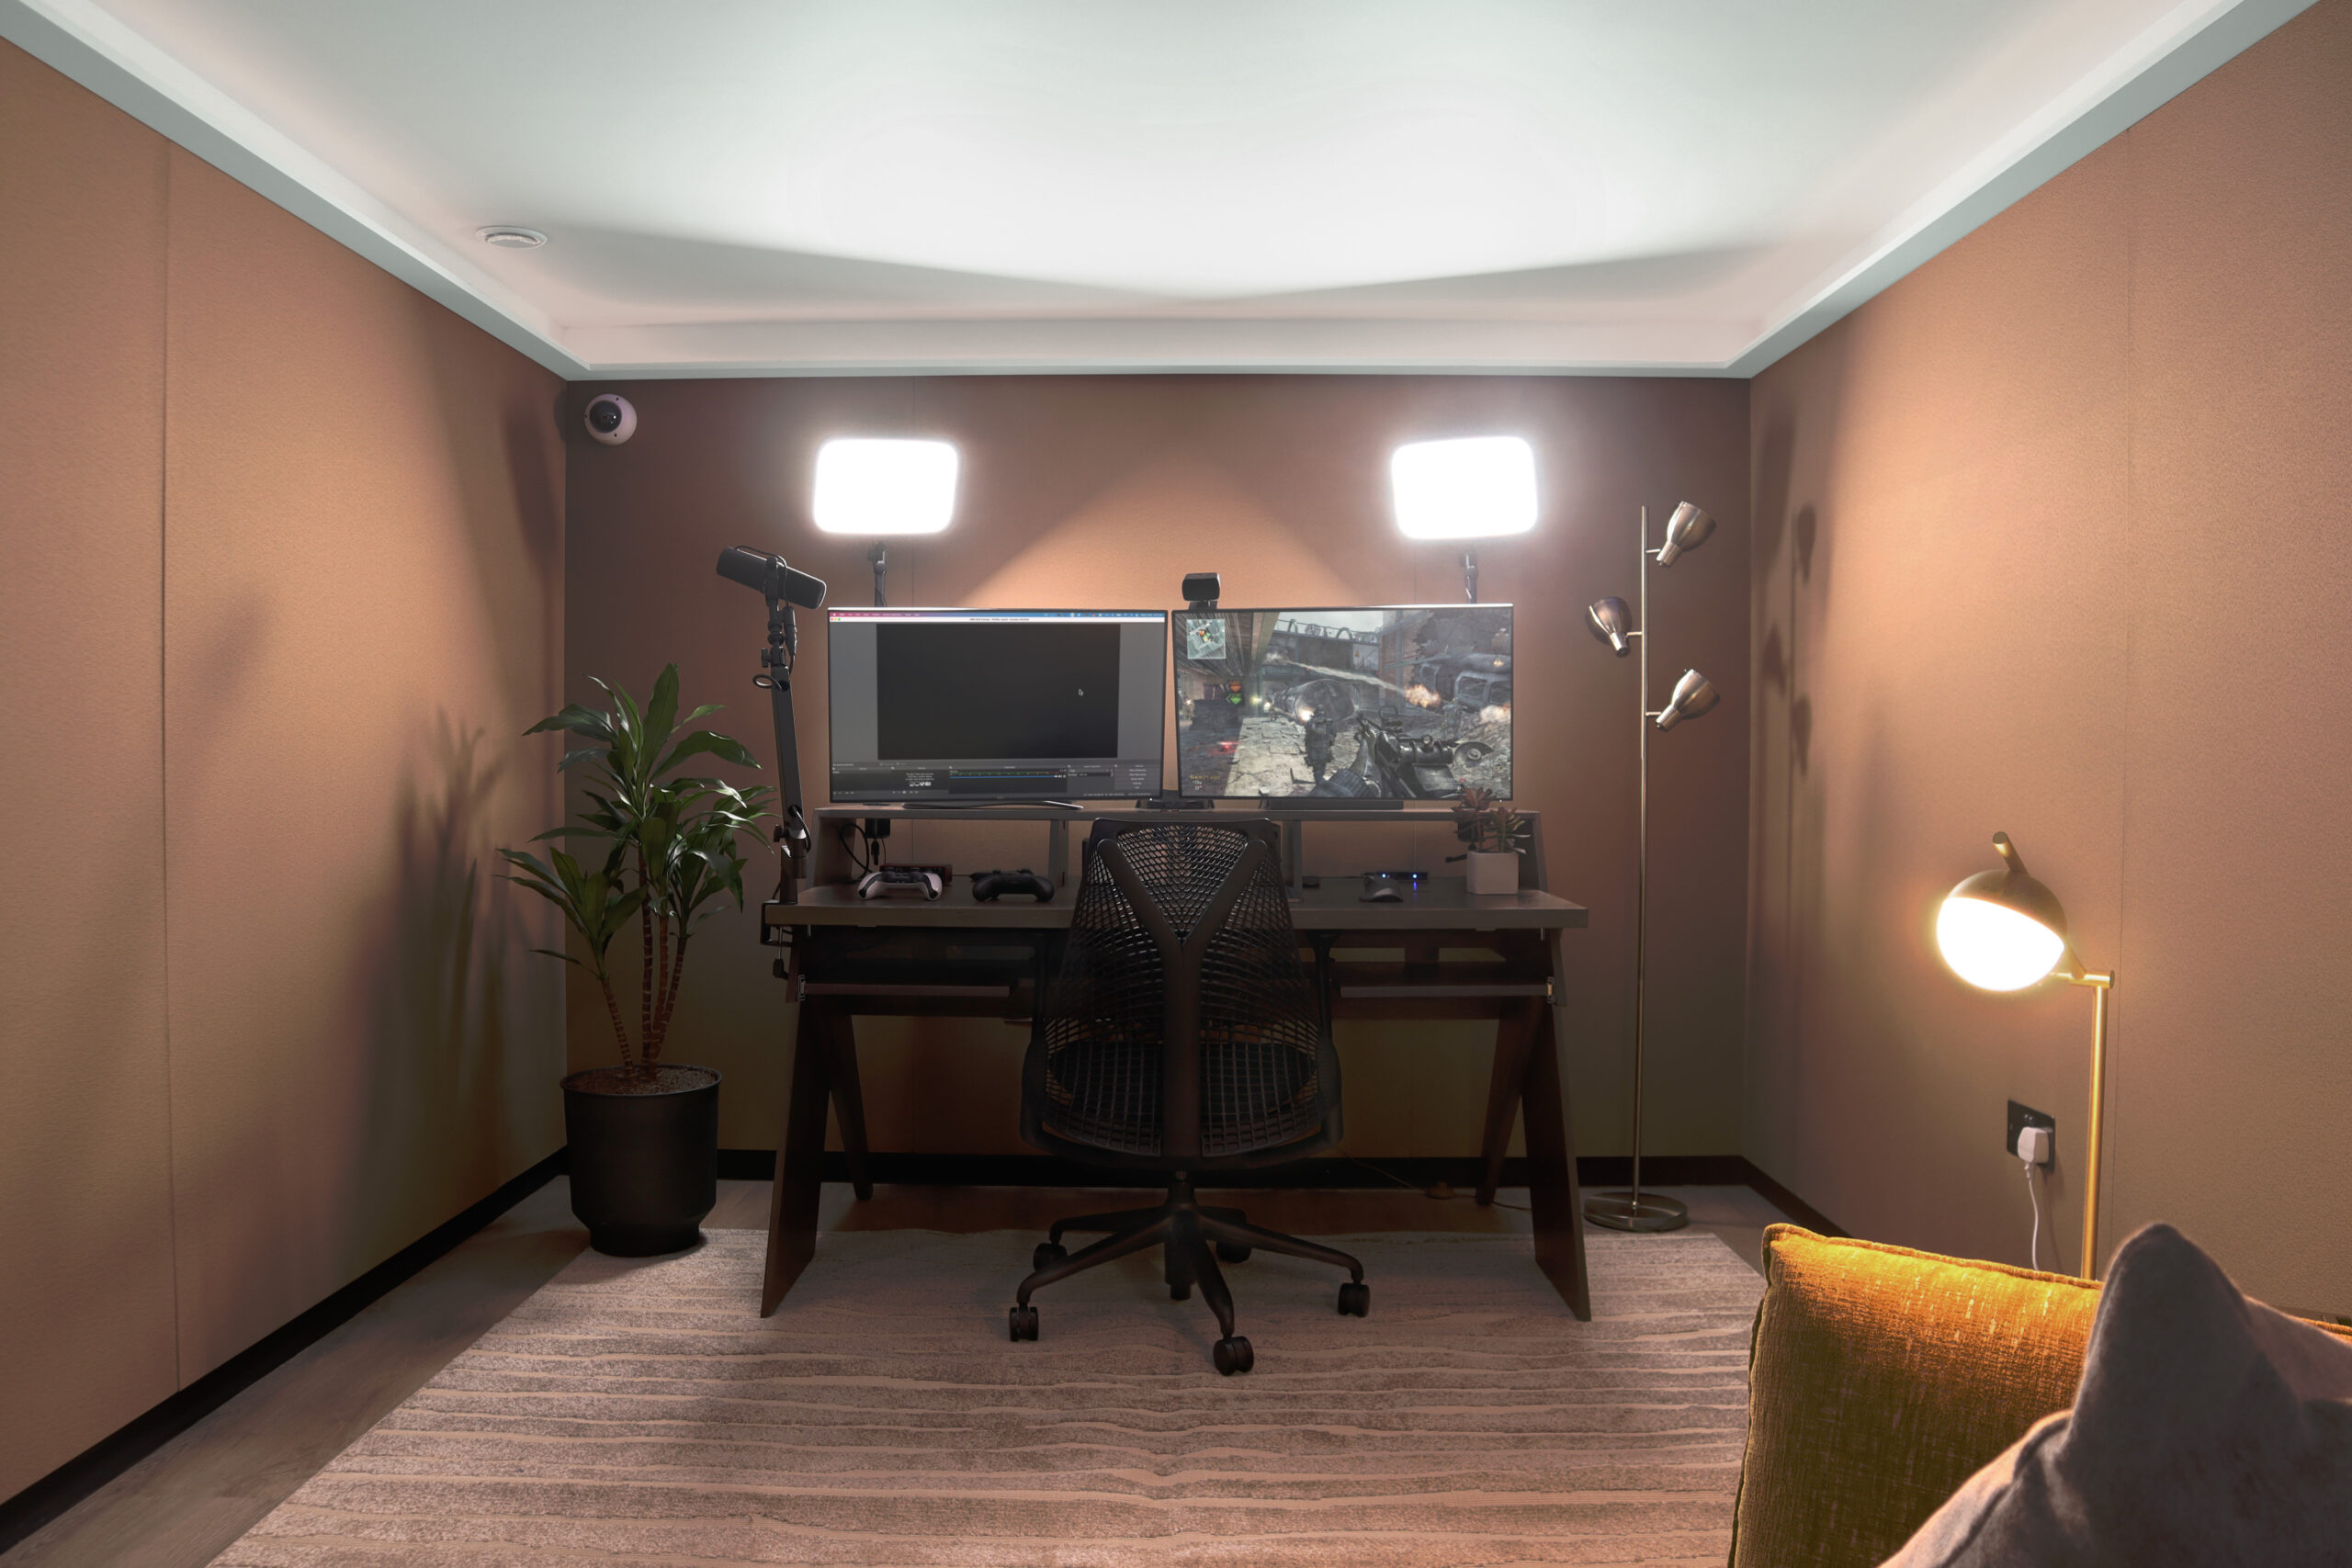
Our mission at Qube has always been to build a sanctuary for creators across all disciplines, not just in audio. And today we’re making a huge leap towards that goal, and are proud to open our first video stream studio at Qube East. Here’s everything you need to know…

Who is it for?
This is an entirely new category of studio designed specifically for YouTubers, TikTokers, Gaming Streamers and Video Editors.
YouTubers and streamers have been stuck in their bedrooms for too long, with sub-standard cameras, poor audio and isolated from other talented creators. We’re trying to solve that by creating an affordable and flexible way to access the best video gear and space, meet and collaborate with your peers and effortlessly create high-quality content.
What can I use it for?
Think of it as a YouTuber or streamer’s dream 1-person studio. We’re envisioning streaming Fifa on Xbox or PS5, filming a make-up tutorial, editing your TikTok reels for the week, or streaming a remote interview for your podcast.
How many credits does it cost?
12 credits per hour. However, we’re discounting this to just 6 credits per hour for the whole month of May to allow you to test and trial the studio.
Where can I submit my feedback?
This is only the first iteration of this studio and we want your feedback on how to add, improve and make this the ultimate space for you. If you have any thoughts or equipment wishlist requests, drop your comments here.
How do I book an induction?
If you’d like an in-person induction, feel free to book one of our weekly sessions for this studio with our Community Team by messaging the Help Desk on the app.
Where will my content be stored?
The studio hard drive will be regularly formatted so please ensure you bring your own external hard drive to work from and backup onto.
What editing software is available?
The studio comes installed with Davinci Resolve, Premiere Pro & Final Cut Pro.
How do I film my gaming session?
To record gameplay and or face cam content open up OBS. You will see 3 pre-made scenes, Console, face cam and both.
To record gameplay from either the XBox or PlayStation consoles start by opening OBS and switching to the ‘Console’ scene. Then turn on the desired console and make sure the HDMI switcher is set to the correct input:
1 – PlayStation
2 – XBox
Once the console is on and the HDMI switcher is set to the correct input, change the input of the right hand monitor from USB-C to HDMI.
If you wish to record audio as well, swing the microphone out and make sure ‘48v’ is turned on on the focusrite interface.
Once you are ready to record, click ‘Record’ on OBS and use the program as normal.
When you are finished recording click ‘Stop Recording’ on OBS.
Your recorded video file will be in the ‘Movies’ folder on the Mac.
As always, if there are any additional questions feel free to ask a member of the Qube team via the Help Desk section on the app.


